More than 60 percent of homeowners worry about property security at least once a year, often wondering if their current setup is enough. Choosing and installing the right residential camera system can make the difference between peace of mind and vulnerability. Understanding the key steps from assessing your property to final testing will help you create a reliable system that keeps your home and loved ones safe.
Table of Contents
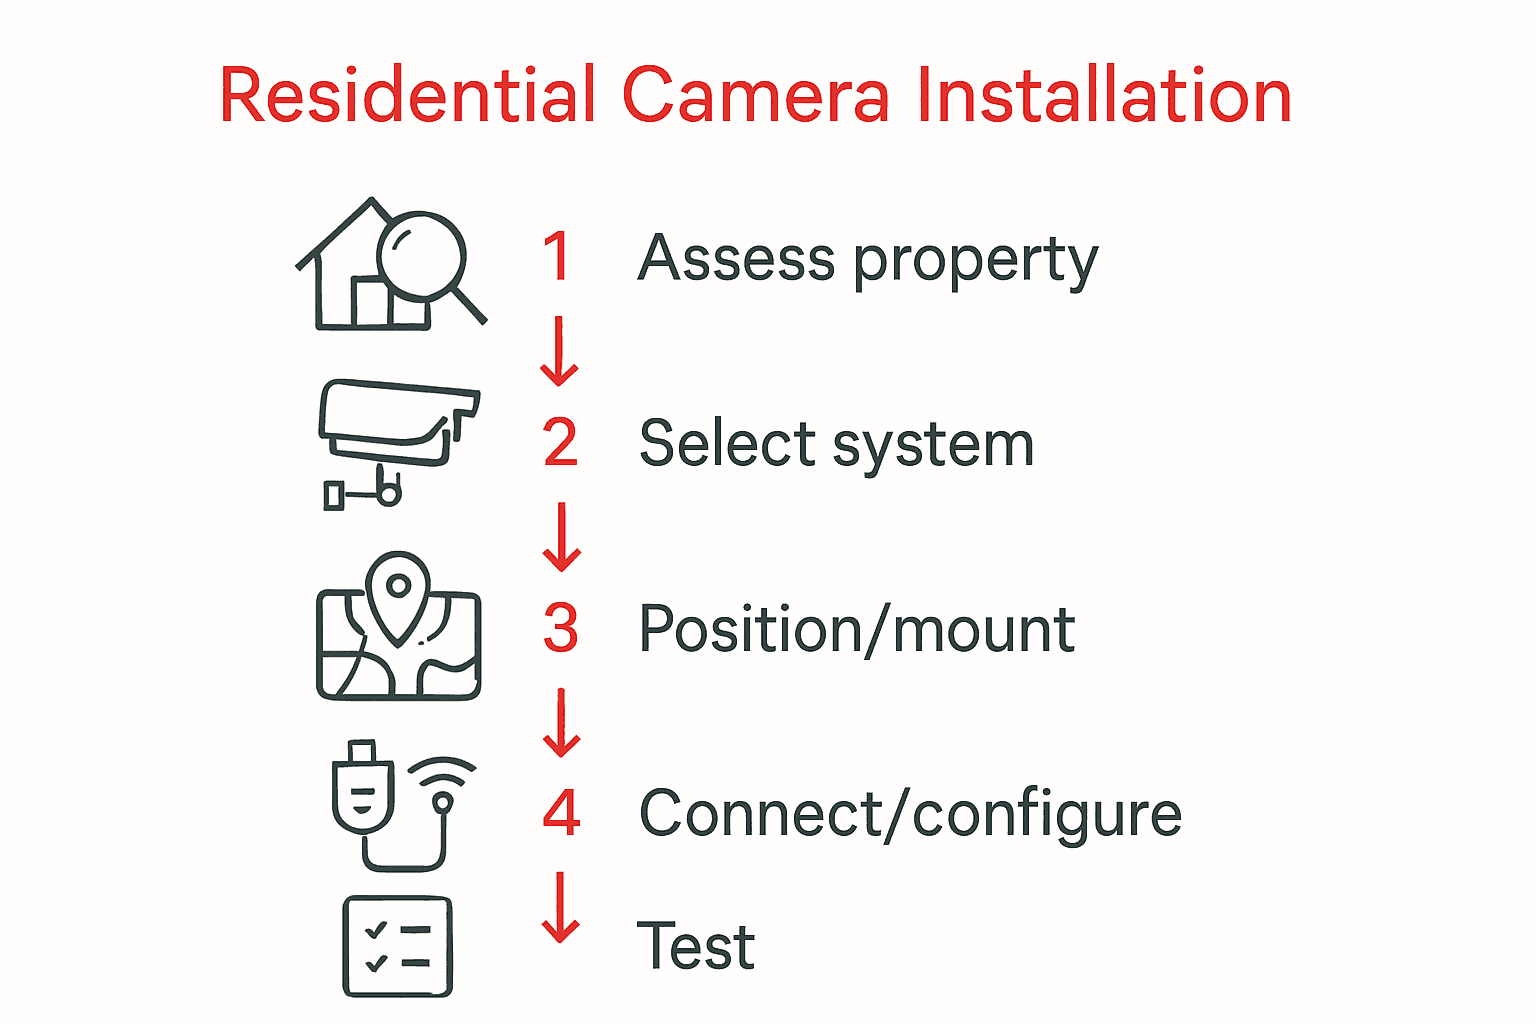
- Step 1: Assess Property And Security Needs
- Step 2: Select Suitable Camera Systems
- Step 3: Position And Mount Cameras Securely
- Step 4: Connect And Configure All Equipment
- Step 5: Test System Functionality Thoroughly
Quick Summary
| Key Point | Explanation |
|---|---|
| 1. Assess security needs accurately | Conduct a thorough property walkthrough to identify vulnerable areas requiring camera coverage. |
| 2. Choose features wisely | Prioritize camera features like HD resolution, night vision, and motion detection based on your specific needs. |
| 3. Position cameras strategically | Mount cameras at optimal heights and locations for maximum visibility while ensuring neighbor privacy is respected. |
| 4. Ensure proper connectivity and configuration | Connect equipment securely and configure cameras to enhance their functionality and reliability. |
| 5. Test the system thoroughly | Systematically verify each camera’s performance and features to ensure effective operation and coverage. |
Step 1: Assess Property and Security Needs
Assessing your property’s security requirements is the foundational step in creating an effective residential camera installation strategy. This critical initial phase determines how well your security system will protect your home and provide peace of mind.
Start by conducting a comprehensive walkthrough of your property, identifying vulnerable entry points and areas that require monitoring. According to Gov.uk, homeowners must carefully consider camera positioning to ensure maximum coverage while respecting neighbors’ privacy. Focus on key zones such as front and back entrances, driveways, side passages, and ground floor windows.
Carefully evaluate your specific security concerns. Are you worried about potential break-ins, package theft, or monitoring who approaches your property? Different objectives will influence camera placement and type. For instance, wide-angle cameras work best for monitoring large areas like driveways, while narrow-focus cameras excel at capturing detailed facial features near doorways. Consider factors like lighting conditions, potential obstructions, and the exact visual range you need to cover.
Pro Tip: Always ensure your camera installation complies with local data protection regulations and does not intrude on neighbors’ private spaces.
By meticulously assessing your property’s unique security landscape, you set the stage for a targeted and effective camera installation that provides robust protection tailored to your specific needs.

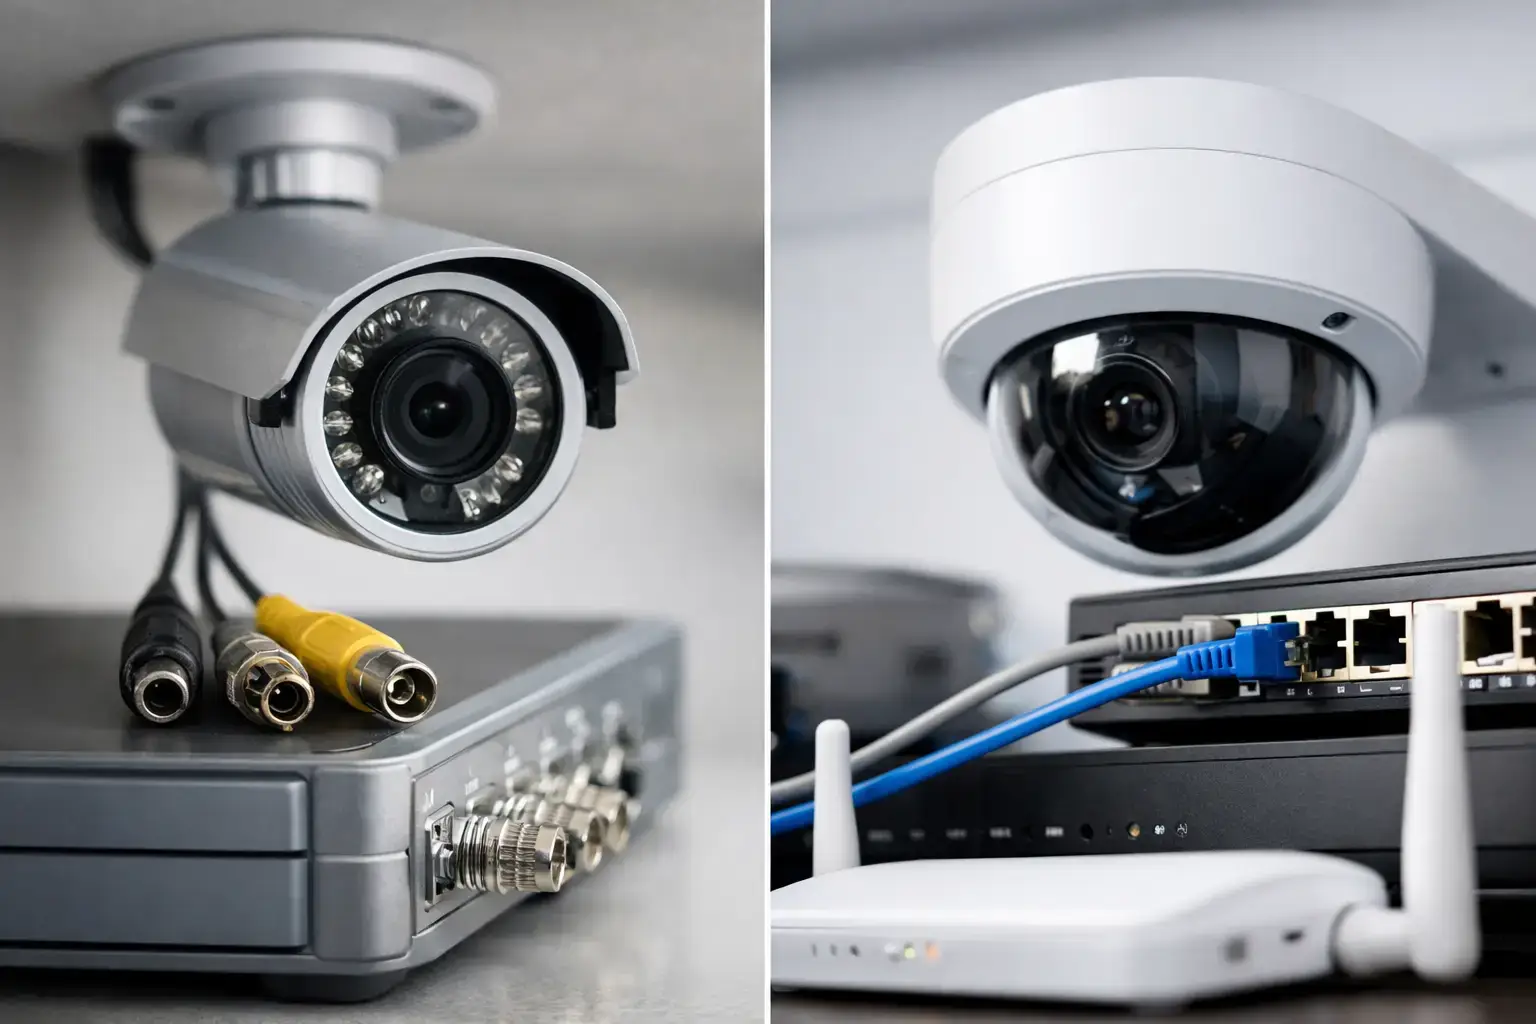
Step 2: Select Suitable Camera Systems
Selecting the right camera systems is crucial for creating an effective residential security solution that meets your specific property protection needs. This step will help you navigate the complex world of CCTV technology and make informed choices.
Start by understanding your specific requirements. Elec Training recommends focusing on key features like HD resolution, night vision capabilities, and motion detection. Look for cameras that offer high pixel counts for clear image quality, infrared night vision to monitor areas in low light, and smart motion detection that can differentiate between routine movement and potential security threats. When choosing cameras, consider factors like indoor versus outdoor use, viewing angle, and storage options.
According to Gov.uk, it is essential to select systems that meet technical standards and can produce clear images for potential evidence collection. Consider cameras with weatherproof ratings suitable for the UK climate, especially for exterior installations. Pay attention to data storage solutions, connectivity options like WiFi or wired connections, and compatibility with your existing home infrastructure.
Pro Tip: When selecting camera systems, prioritize models that offer 6 key CCTV system features to ensure comprehensive security coverage.
By carefully evaluating these factors, you will create a robust camera system tailored precisely to your home’s unique security landscape.
Step 3: Position and Mount Cameras Securely
Positioning and mounting your cameras correctly is a critical step in creating an effective residential security system. This stage determines the overall effectiveness of your surveillance and ensures comprehensive property coverage.
According to Planning Portal, there are specific guidelines for camera placement that balance security needs with privacy considerations. Cameras should be mounted at least 2.5 meters above ground level and must not protrude more than 1 meter from the wall. Focus on strategic locations that provide maximum visibility of key entry points such as front and back doors, driveways, and ground floor windows.
Elec Training emphasizes the importance of secure mounting to prevent tampering and ensure optimal coverage. Choose robust mounting brackets that can withstand different weather conditions and potential interference. Consider using protective housings for outdoor cameras to shield them from rain and extreme temperatures. Aim to position cameras at angles that capture clear facial features and license plate details while avoiding direct glare from sunlight or artificial lighting.
Pro Tip: Before finalizing your camera positions, check local regulations especially if you live in a listed building or conservation area.
Carefully consider each camera’s placement to create a comprehensive security network that protects your property without compromising your neighbors privacy.
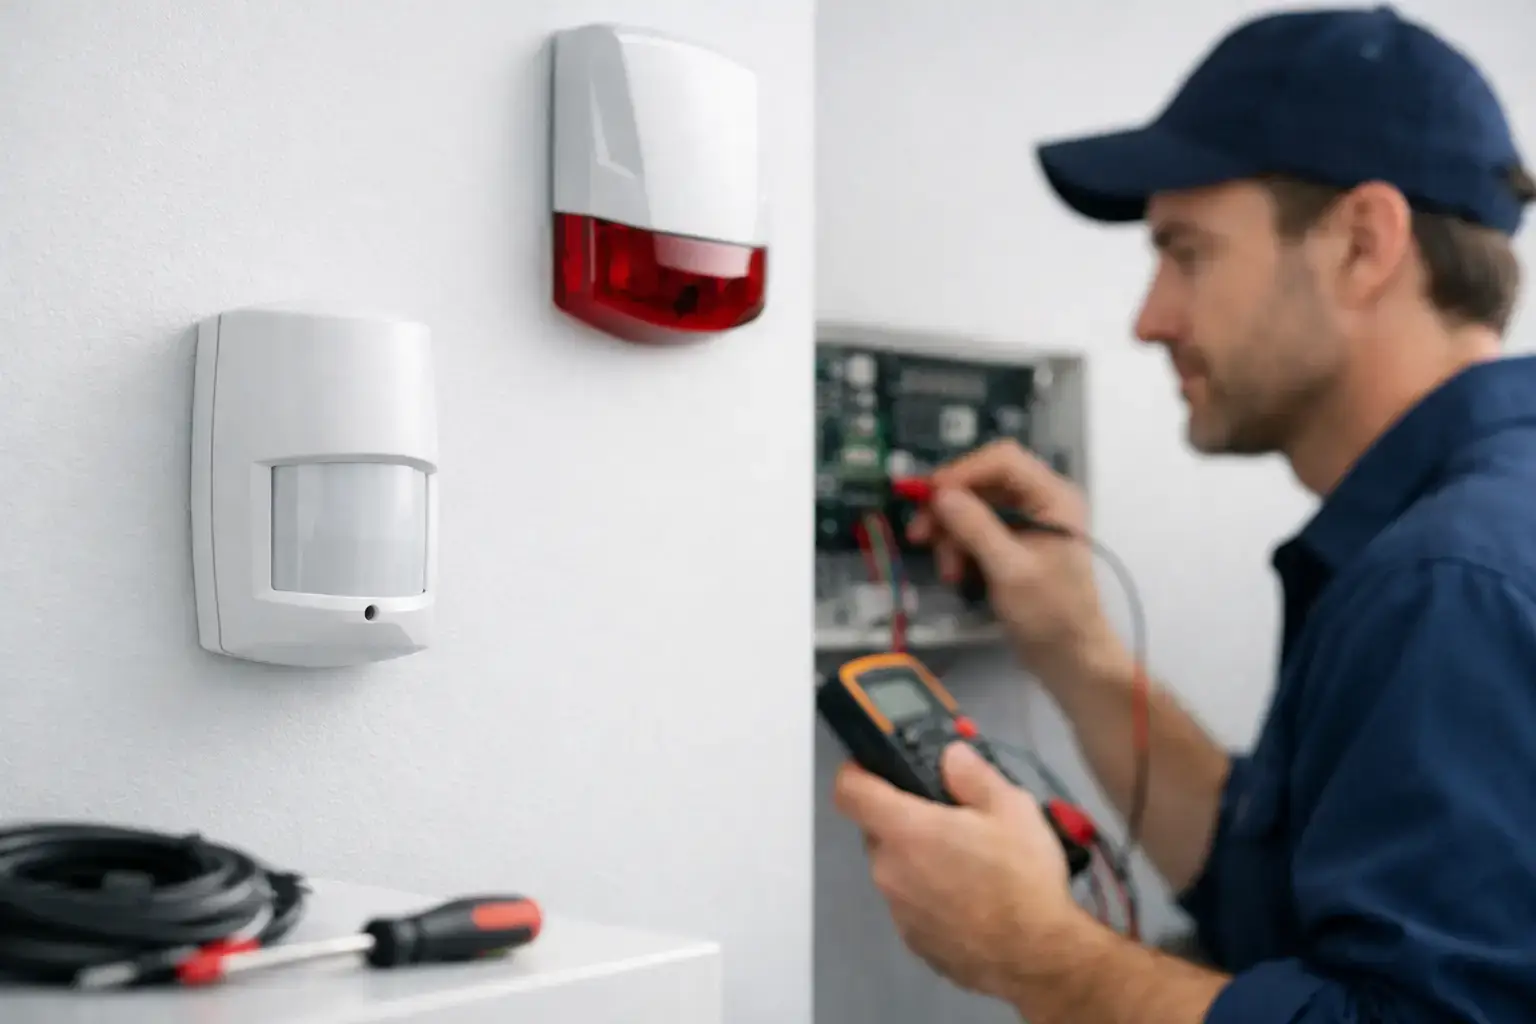
Step 4: Connect and Configure All Equipment
Connecting and configuring your camera equipment is a crucial phase that transforms individual components into a seamless security network. This step requires careful attention to ensure all devices communicate effectively and provide comprehensive property monitoring.
According to Gov.uk, proper configuration is essential to meet your surveillance system’s intended purpose. Begin by gathering all components including cameras, network cables, power adapters, and your central recording device or network video recorder (NVR). Check device compatibility and ensure you have the correct adapters and connectors. For wired systems, use high quality Ethernet cables to connect cameras to your NVR or router, maintaining consistent cable lengths and avoiding unnecessary signal degradation.
When setting up wireless systems, prioritize a stable WiFi network with strong signal strength across your property. Configure each camera through its dedicated mobile application or web interface, creating unique login credentials and ensuring firmware is updated to the latest version. Set up motion detection zones, adjust sensitivity levels, and establish recording schedules that match your specific security requirements. Consider enabling features like night vision, two way audio, and cloud storage backup to enhance your system capabilities.
Pro Tip: Test each camera’s connection and viewing angle immediately after installation to confirm optimal performance and coverage.
By methodically connecting and configuring your equipment, you create a robust security system tailored precisely to your property’s unique needs.
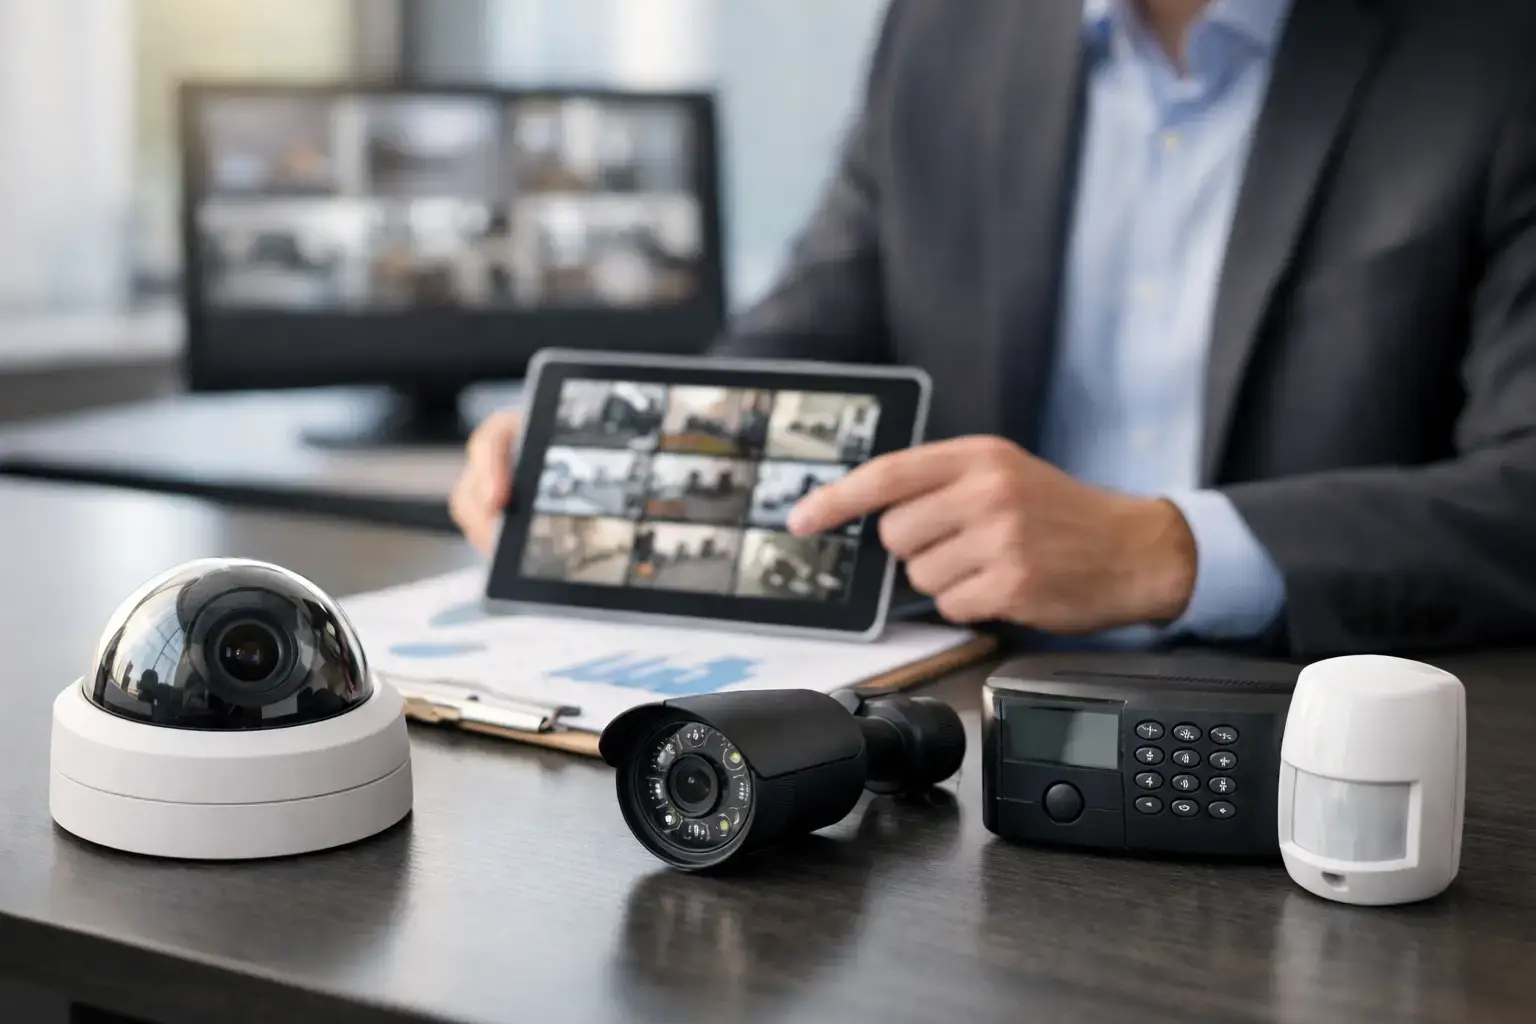
Step 5: Test System Functionality Thoroughly
Testing your newly installed camera system is a critical final step that ensures your security investment performs exactly as expected. This comprehensive verification process will identify and resolve any potential issues before they compromise your property’s protection.
Gov.uk emphasizes the importance of thorough system testing and maintaining detailed records of functionality checks. Begin by systematically testing each camera’s video quality during different times of day and night. Check the field of view to confirm complete coverage of intended areas, verifying that no critical zones are left unmonitored. Test motion detection capabilities by walking through each camera’s range and confirming that recordings are triggered accurately and consistently.
Evaluate your system’s remote access features by attempting to view live and recorded footage from multiple devices including smartphones, tablets, and computers. Verify that night vision modes activate correctly in low light conditions and that audio features function as expected. Check storage capacity and ensure that video recordings are being saved properly with clear timestamps. Test backup and cloud storage systems to guarantee your footage is securely preserved and easily retrievable.
Pro Tip: Create a detailed testing checklist to methodically verify each camera and system feature.
By meticulously testing your security system, you establish a robust surveillance network that provides reliable protection and peace of mind for your property.
Secure Your Home with Expert Residential Camera Installation
Understanding the challenges of protecting your home from intruders and package theft requires more than just selecting any camera system. This guide highlights the importance of careful assessment, strategic camera placement, and thorough system testing to ensure your security setup works flawlessly. Avoid common pitfalls like poor positioning or insufficient coverage by trusting professionals who prioritise your exact needs and privacy concerns.
Take control of your home security today with 247 CCTV. Our experts specialise in installing advanced CCTV, burglar alarms, and access systems tailored for homeowners like you. Don’t wait until a security breach happens. Get a comprehensive solution designed to protect what matters most. Discover how our proven installation process and state-of-the-art technology can give you peace of mind now by visiting 247 CCTV and exploring our full range of services.
Frequently Asked Questions
How do I assess my property’s security needs before installing a camera system?
Start by conducting a comprehensive walkthrough of your property, identifying vulnerable entry points and areas that require monitoring. Focus on key zones such as entrances, driveways, and ground floor windows to determine the best locations for maximum security coverage.
What features should I look for when selecting a residential camera system?
Prioritize features such as HD resolution, night vision, and motion detection when selecting a camera system. Ensure your camera can differentiate between routine movements and potential threats to enhance your property’s security.
How should I position and mount my security cameras for optimal coverage?
Mount cameras at least 2.5 meters above ground level and focus on strategic locations like entry points and windows. Ensure that they are securely fastened using robust mounting brackets to prevent tampering and maintain effective coverage.
What steps should I follow to connect and configure my camera system?
Gather all components and connect cameras to your recording device using high-quality cables for wired systems or a stable WiFi network for wireless setups. Configure each camera through its app or web interface, adjusting settings like motion detection zones and recording schedules based on your specific security needs.
How can I thoroughly test my newly installed camera system for functionality?
Test each camera’s video quality and motion detection capabilities at different times of the day. Ensure that you can access live feeds and recordings from multiple devices and verify that night vision and audio features work correctly, establishing a reliable surveillance network.
What should I include in my testing checklist for the camera system?
Create a detailed checklist that includes verifying video quality, testing motion detection, and assessing remote access features. Make sure to include steps for checking storage capacity and ensuring video footage is being saved correctly with accurate timestamps.
Recommended
- CCTV Monitoring Setup Guide: Secure Your Property Easily – 247 CCTV Security Ltd
- Business CCTV Installation Guide: Secure Your Premises Fast – 247 CCTV Security Ltd
- Step-by-Step CCTV Camera Maintenance Guide for UK Sites – 247 CCTV Security Ltd
- 5 x 4K CCTV Installation + Smart Intruder Alarm | 247 CCTV
- 5 Star CCTV Installation And Repair in Toronto